Blog
How to Add a Search Bar to WooCommerce (The Complete Guide)
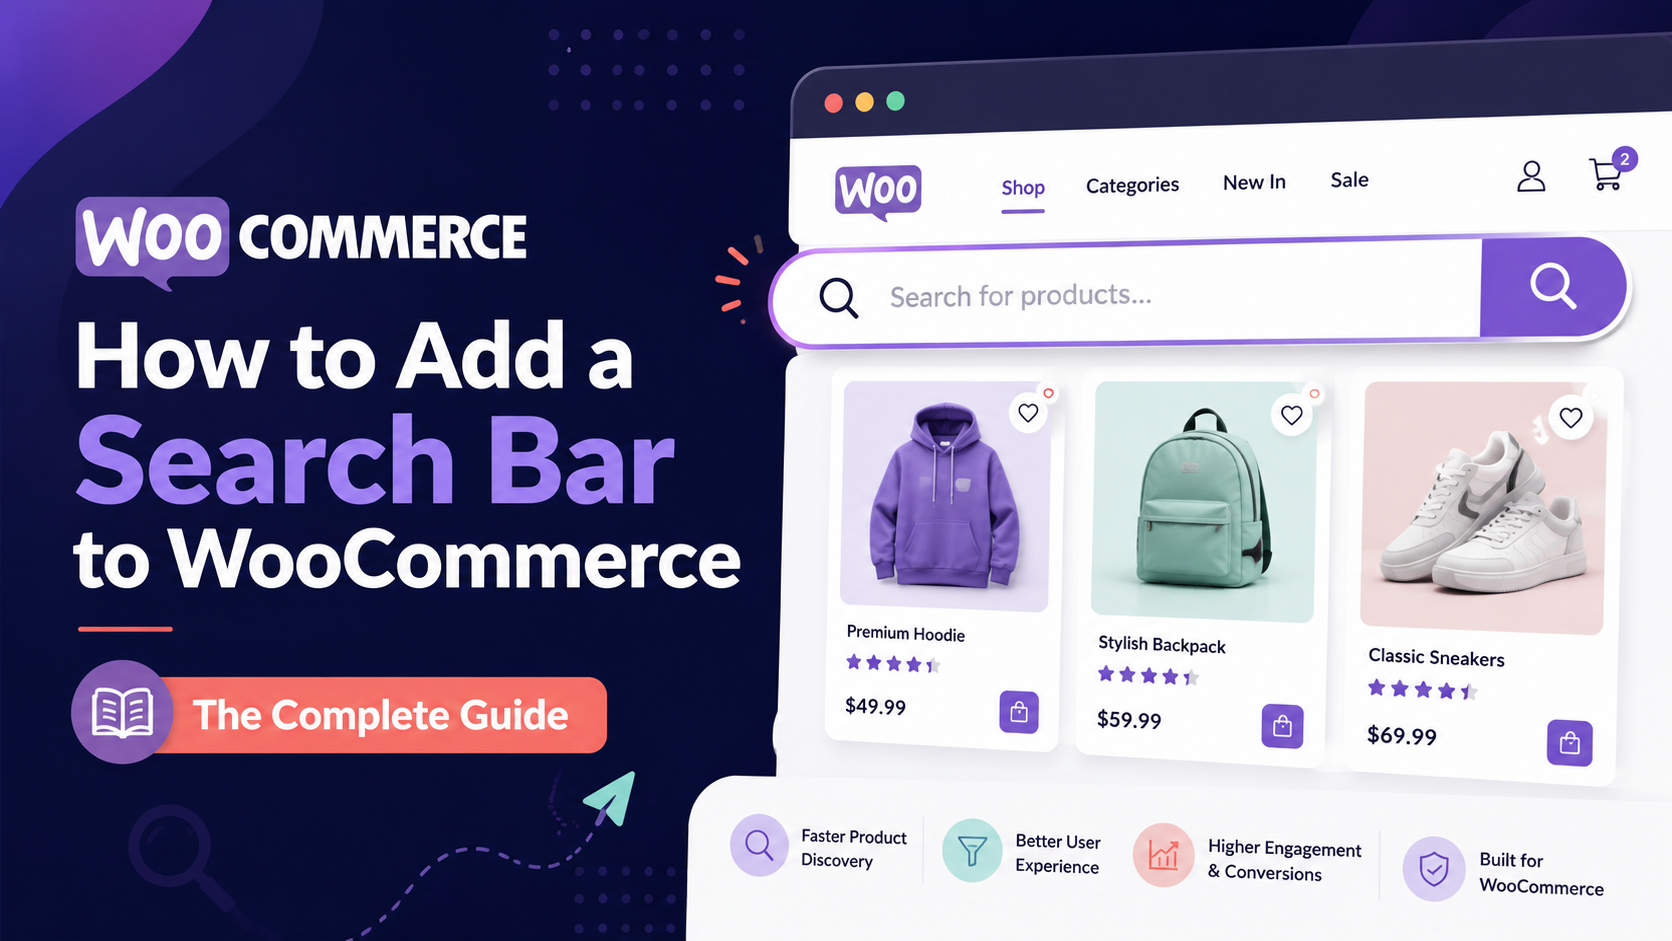
The quickest answer: how to add a search bar to WooCommerce
Adding a search bar to WooCommerce takes about two minutes using the built-in WordPress search widget. Open your theme's widget area (Appearance > Widgets), drag the "Search" widget into your header or sidebar, and save. That puts a text box on your site immediately.
The harder question is whether that default search bar is good enough for a real store. For most shops with more than a few dozen products, the answer is no — and this guide covers both the quick fix and the better long-term solution.
What the default WooCommerce search bar can and can't do
WooCommerce ships with WordPress's native search, which queries post titles and descriptions using a basic SQL LIKE query. It works for tiny catalogues, but it has well-known limitations that frustrate shoppers:
- It only searches post titles and descriptions, ignoring SKUs, attributes, tags, and variation names by default.
- There is no tolerance for typos — "blak dress" returns nothing.
- Results load a full page reload, which feels slow on modern sites.
- There is no autocomplete or instant suggestions as shoppers type.
- Relevance ranking is rudimentary: newer posts rank higher regardless of match quality.
For a store selling even 50 products, these gaps directly cost you sales. Shoppers who can't find what they want in the first attempt usually leave.
How to add a search bar to WooCommerce using the block editor
If your theme uses Full Site Editing (FSE), the cleanest path is:
- Go to Appearance > Editor > Template Parts > Header.
- Click the "+" block inserter and search for "Search".
- Add the core Search block. You can configure the button label, placeholder text, and whether to show a button at all.
- Save the template part.
This embeds search directly in your site's HTML rather than using a widget area, which performs slightly better and is easier to style with block theme tools.
How to add a search bar to WooCommerce using widgets (classic themes)
For themes that still use classic PHP templates (most Astra, OceanWP, GeneratePress, and Flatsome setups):
- Go to Appearance > Widgets.
- Find the widget area labelled "Header" or "Primary Sidebar" — the exact name depends on your theme.
- Drag the core "Search" widget (or your theme's own search widget) into that area.
- Optionally customise the button text and placeholder.
- Click Save.
Some themes expose a dedicated "Header Search" setting in the Customiser (Appearance > Customise > Header). Check there first — it may be one toggle away.
Adding search to navigation menus
A common design pattern is a magnifying-glass icon in the top navigation that expands into a search field on click. Most themes handle this in the Customiser under Header > Search. If yours does not, a lightweight plugin such as "ivory-search" adds this behaviour without replacing the search engine itself.
Why the default search bar falls short and what to do about it
Once you have a visible search bar, the bottleneck shifts to the search engine behind it. WooCommerce's default engine is optimised for blog posts, not product catalogues. It does not index variation names, custom attributes, or SKUs. A shopper typing your product's part number will get zero results even though the product is right there in your database.
The practical fix is to replace the search engine while keeping the search bar in the same spot. A plugin like Search Sight installs on top of WooCommerce and intercepts search queries before they reach WordPress's SQL engine. It indexes your full product catalogue — titles, descriptions, SKUs, attributes, tags, categories, and variations — and returns ranked results in under 50 milliseconds using AI-powered relevance.
The setup takes about five minutes: sign up, download the WooCommerce connector, upload and activate it on WordPress, and your existing search bar is instantly upgraded.
Styling your WooCommerce search bar
The search bar inherits styles from your theme's CSS. Common customisations:
- Width: set a max-width on the search form container.
- Button colour: most themes expose a primary colour in the Customiser that flows through to the search button.
- Placeholder text: edit the widget settings or use the Search block's placeholder attribute.
- Mobile behaviour: use your theme's responsive settings or add CSS targeting the .wp-block-search selector.
If you are using Search Sight, the autocomplete dropdown that appears as shoppers type is styled separately via the plugin's settings panel. You can match your store's colours without touching CSS.
Common mistakes when adding a WooCommerce search bar
Putting it in the sidebar only. Mobile shoppers will never scroll down to a sidebar widget. The header is the right home for search on a product-first store.
Leaving the placeholder as "Search…". A specific placeholder like "Search products, SKUs, or brands…" sets expectations and increases usage.
Not testing zero-results pages. After adding search, type a deliberately misspelled query and see what the results page shows. A blank page with no guidance loses the shopper. A good search tool should handle typos and show suggestions on zero results.
Ignoring search analytics. What shoppers type into your search bar is gold — it reveals demand, gaps in your catalogue, and naming mismatches. Search Sight includes a no-results report and search analytics dashboard so you can act on that data.
Related guides
If you want to go deeper on specific aspects of WooCommerce search, these guides are worth reading next:
- How to Speed Up WooCommerce Search — if load time is your main concern
- WooCommerce Faceted Search and Product Filters Explained — adding filters alongside your search bar
- How to Add Fast AJAX Product Search to WooCommerce — autocomplete and instant results
How many search bars does a WooCommerce store need?
Most stores work well with a single prominent search bar in the header. However, some store types benefit from additional search entry points:
- Homepages with large hero sections — a full-width search bar in the hero can dramatically increase search usage, particularly on stores where search is the primary navigation tool.
- Category pages — a search bar pre-filtered to the current category can help shoppers narrow within a section they are already browsing.
- 404 pages — a search bar on your 404 page gives shoppers an immediate path forward instead of a dead end.
- Cart pages — some stores add a "keep shopping — search for more products" bar near the cart to encourage additional purchases.
Each additional entry point should use the same underlying search engine. With Search Sight, any standard HTML search form on your site — wherever it is placed — automatically gains the autocomplete and fast results engine.
Summary
Adding a search bar to WooCommerce is straightforward using the default widget or block. The real work is making sure that bar connects to a search engine capable of finding your products accurately and quickly. For most stores, that means replacing the default SQL search with a dedicated search tool.
Start your free 14-day trial and see the difference a proper search engine makes for your store.